A good mural starts with useful decisions about the actual wall—not only an image in isolation. This guide gives you a practical way to prepare without turning an early conversation into a finished specification.
01
Start with the overall rectangle
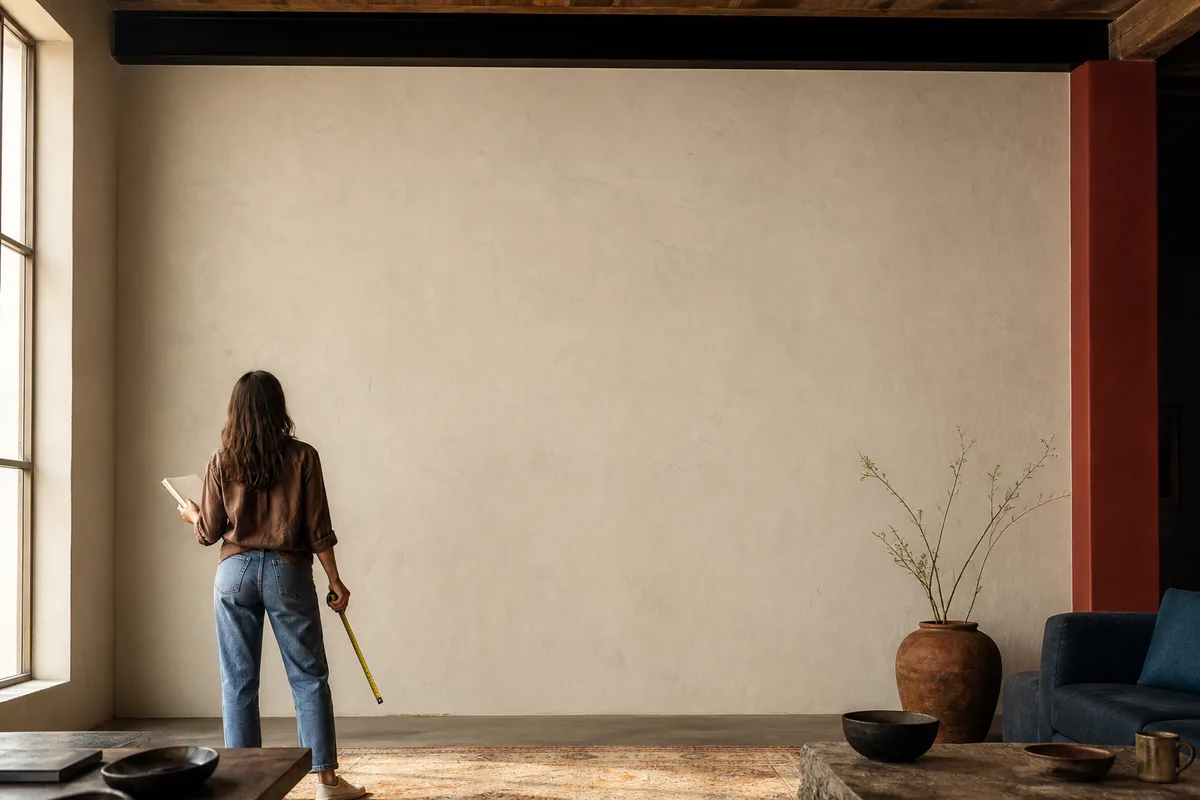
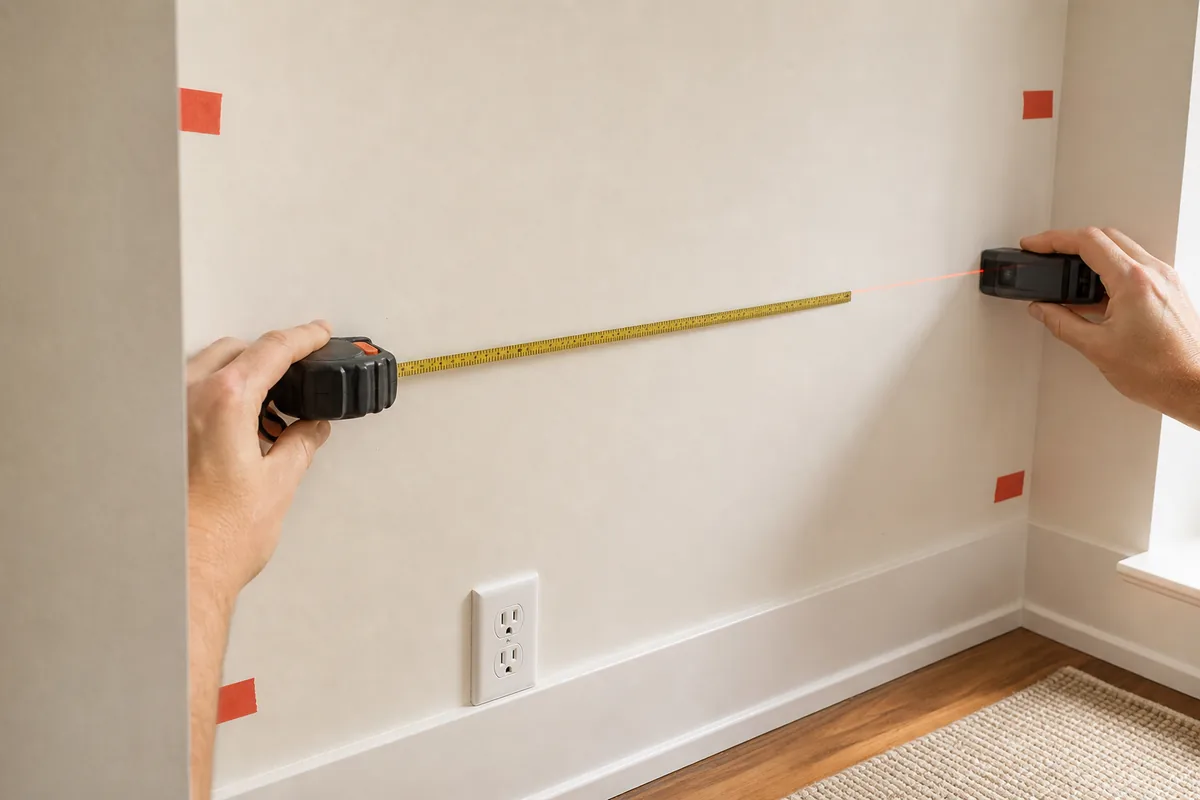
Measure the wall’s full width from corner to corner and its height from finished floor or ground to ceiling, roofline, or the intended top of the artwork. Record the units every time. For a stepped, sloped, or irregular wall, break the shape into simple rectangles and measure each section.
Then identify the area you actually expect to paint. Baseboards, crown molding, trim, signs, roof flashing, or a deliberate border may reduce the usable dimensions. Keep “full wall” and “paintable area” as separate notes.
02
Map interruptions from fixed edges
Measure the width and height of each door, window, vent, panel, outlet group, pipe, light, or fixed feature. Then locate it by measuring from a consistent wall edge and from the floor or ground. This is more useful than estimating that an outlet sits ‘near the middle.’
A simple hand sketch is enough. Draw a rectangle, add the features in roughly the right places, and write dimensions beside them. Mark anything that may be removed or relocated so it is not treated as permanent.
- Full width and height
- Usable paint area
- Size of each interruption
- Distance from left or right edge
- Distance from floor or ground
03
Photograph the measurement context
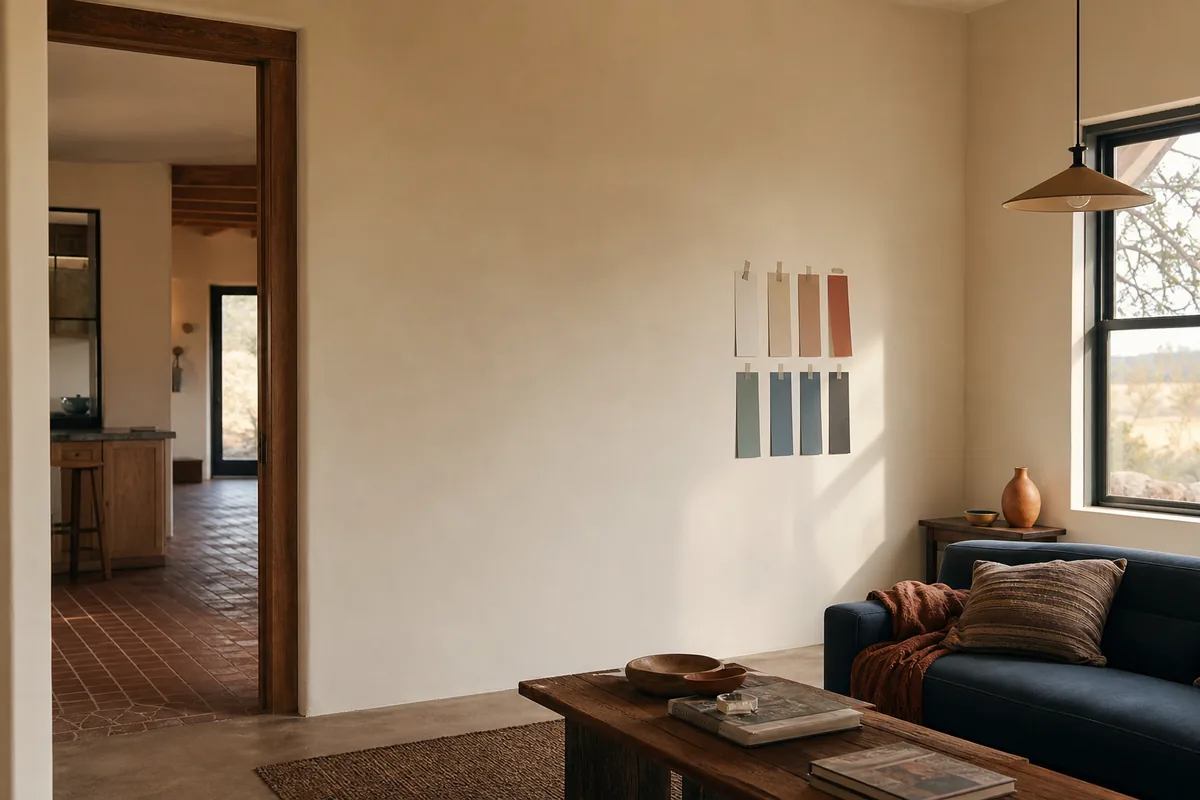
Take a straight-on photo of the full wall and wider views that include corners, floor or ground, ceiling or roofline, and access. Add close-ups of texture and condition. If possible, photograph the tape in place for one or two key spans without relying on a blurry photo as the only record.
Laser tools can be helpful, but reflective surfaces, bright exterior light, and angled readings can introduce confusion. If two methods disagree, record both and flag the dimension for confirmation rather than forcing a number.
04
Treat early numbers as planning information
Approximate client measurements are valuable for an initial scope conversation, but they should be labeled accurately. Do not order materials, fabricate elements, or make irreversible site decisions from an uncertain sketch. Complex or high walls may require a different verification approach.
Send the sketch and photos together with the project city, indoor or outdoor setting, concept, timing, and budget context. The goal is not a perfect architectural drawing; it is a clear, shared picture of the wall.